Building a Jupyter Lab Container with Multiple Kernels
Note: This article is automatically translated, please turn to the Chinese version for more accurate expression if possible.
Usually there are some small ideas that need to be tested. For example, to see if TypeScript can support this syntax, use Python to do two questions and quickly process some files. At this time, it is more cumbersome to open an editor to write a script and then run it. Putting the environment of various languages on the machine is also messy and not portable. Therefore, a Jupyter Lab service was deployed, which can be written through the browser anytime, anywhere. Ideas for codes in various languages.
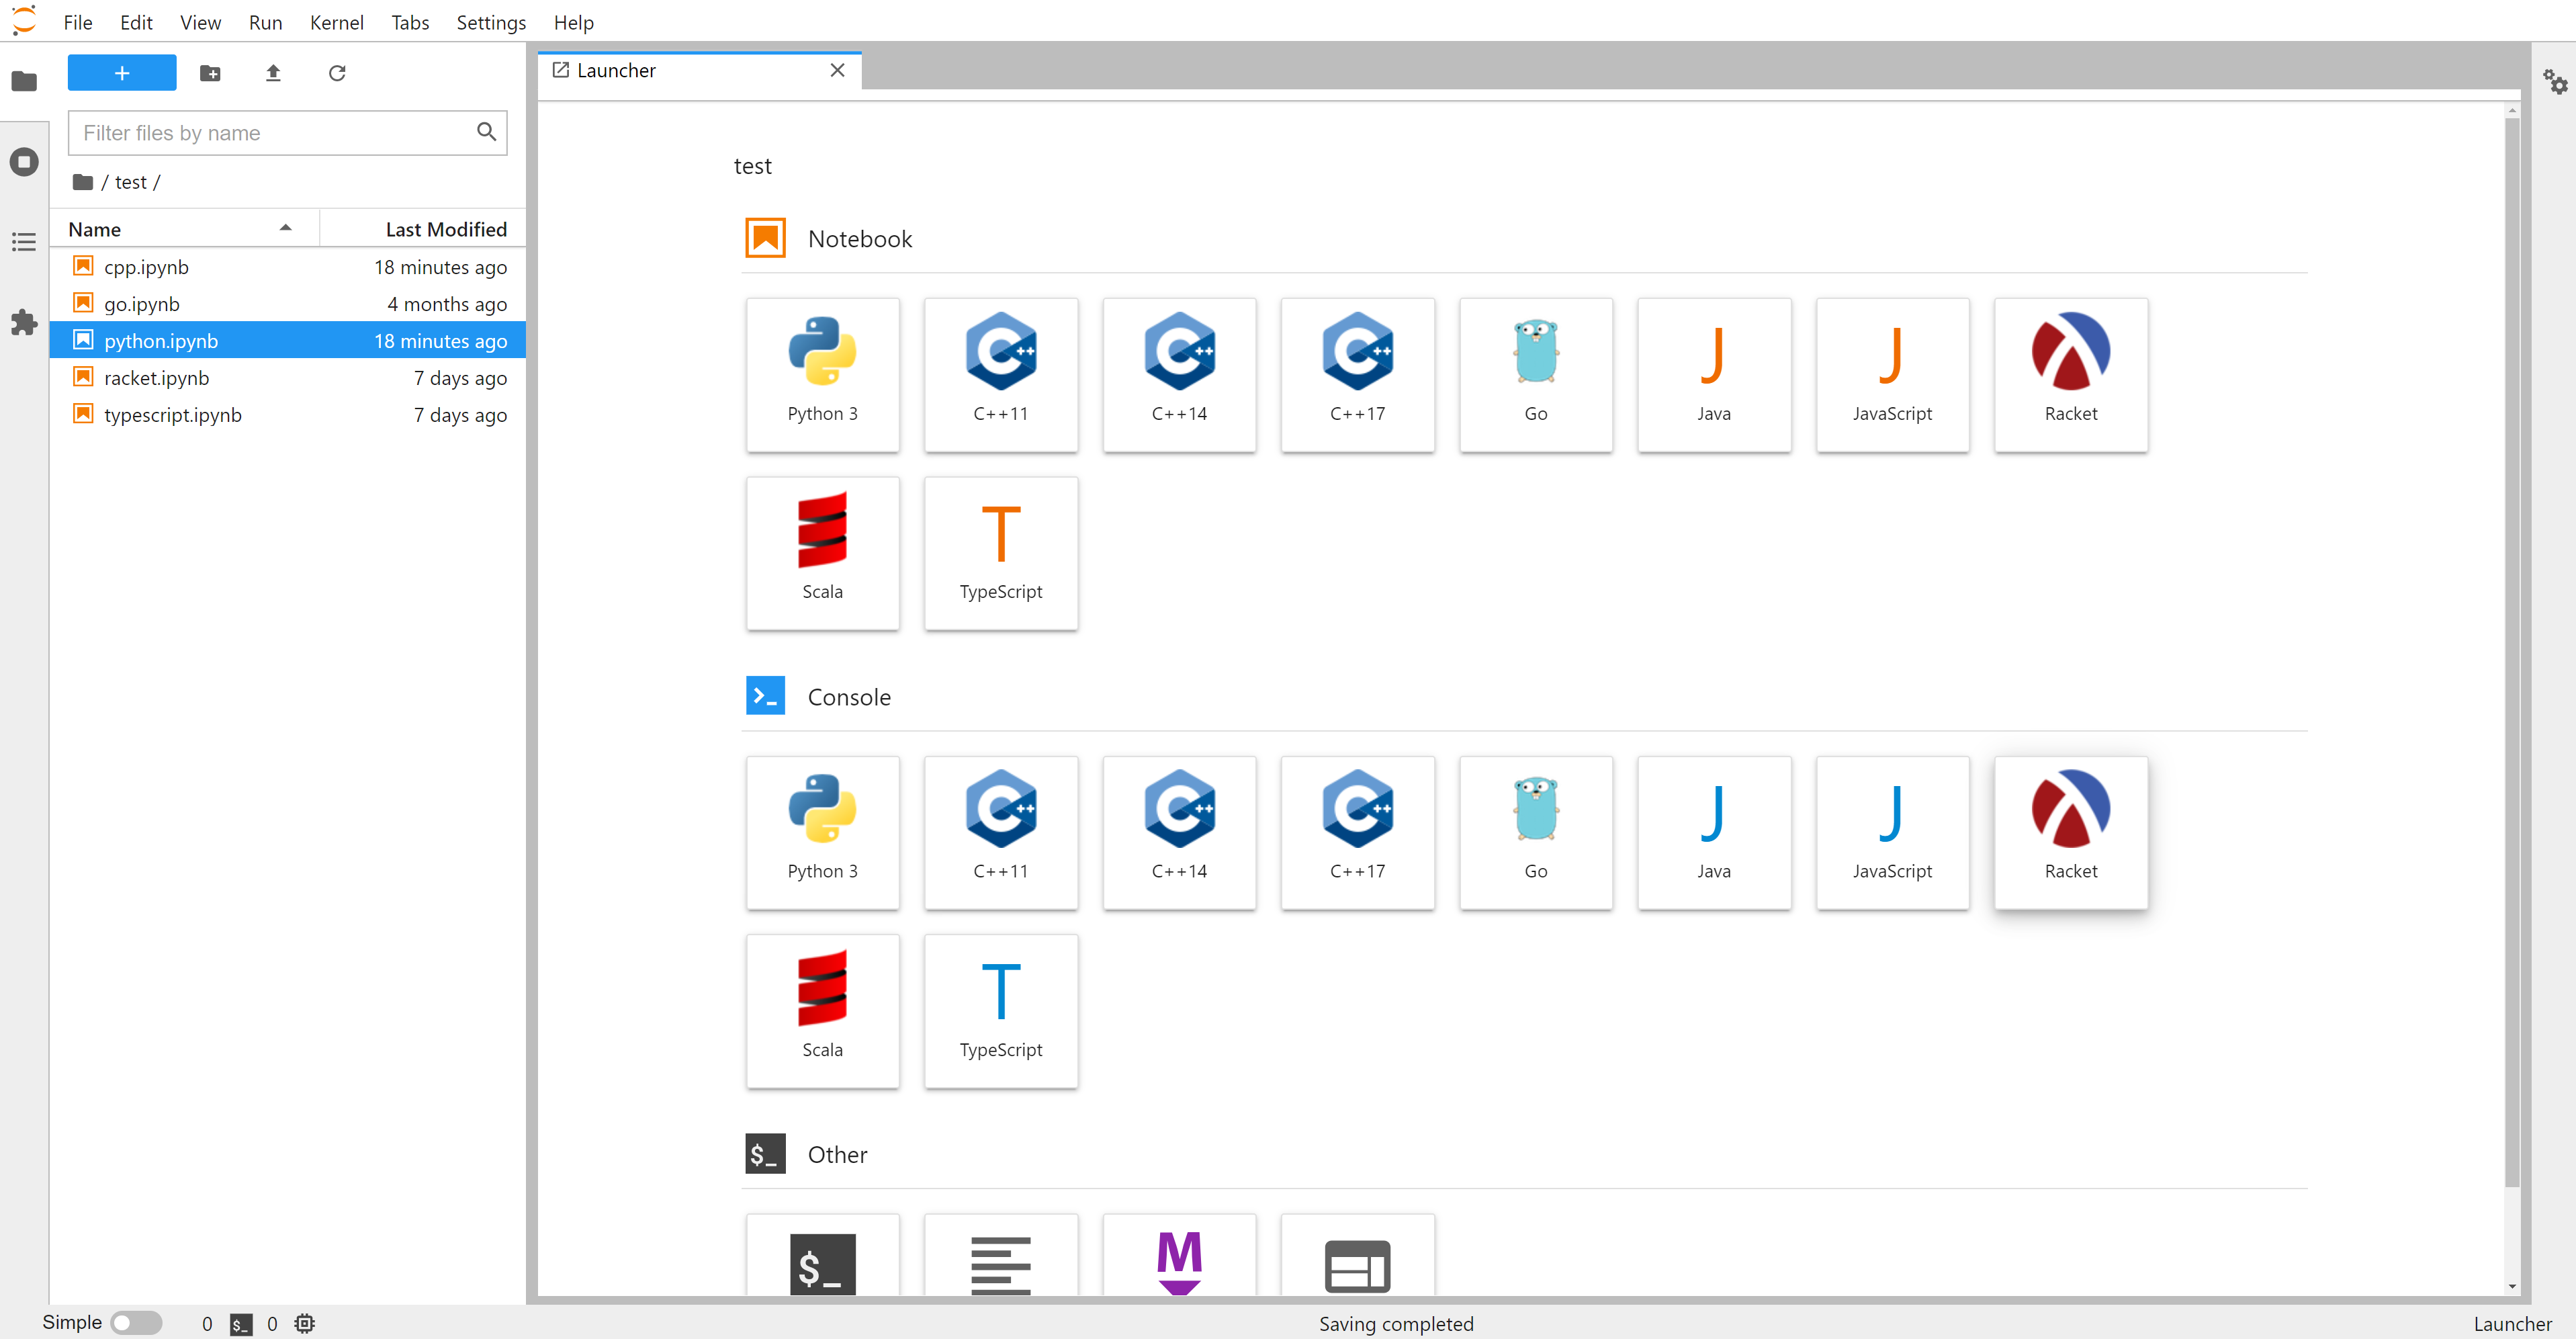
At present, Jupyter Lab is well received by the community, and Jupyter’s Kernel has been implemented in various languages (seeDocumentation ). I have selected several languages that are commonly used by myself for integration (usually there are several Kernel implementations in a language, and I have selected the more complete ones):
- GoLang -gophernotes
- TypeScript & JavaScript - tslab
- C++11/14/17 - xeus-cling
- Racket - iracket
- Ladder -almond
- Java - IJava
At present, this image has been made public on Docker Hub, and the method of use:
docker run -d \
  --name=jupyter \
  -e LABUID=1000 \
  -e LABGID=1000 \
  -e LABPASSWD=userpassword \
  -e JUPYTER_TOKEN=token_to_jupyter_page \
  -p 80:8080 \
  -v /home/user/lab:/data \
  --restart unless-stopped \
  sineliu/jupyterlab-all-in-one:latest
Some implementation details
The matter is very simple, but there are many problems to be solved when doing it. Let’s talk briefly about it below.
Specify Jupyter Lab password
Jupyter Lab usually generates a token after startup to log in in the browser, but this method is not convenient for users to log in again after a period of time (the token is easy to lose). There are two solutions, one is to log in with a username and password, and the other is to specify a Token. The user name and password login methods require cumbersome configuration. Fortunately, Jupyter Lab supports the use of environment variablesJUPYTER_TOKEN Specify the Token, this thing is difficult to search, it took a long time to find the document (really a long time!). In this way, a Token that is easy to remember can be fixed by setting environment variables.
Avoid problems with Docker Root permissions by customizing users
The Docker container runs as the root user by default, which causes the owners of files created under the container to be root. I don’t know if there is an official solution for docker. I finally achieved it by creating a user when the container was first started. This process is divided into two steps. The first is to identify the first startup (otherwise, an error will be reported when the user is created again at restart), and the second is to create a user with a specified password in a non-interactive way.
At the beginning, there was no idea of starting the script for the first time. I found that a file can be used as a flag. If the file does not exist, it is the first time. Then the file is created. After the file exists, it is known that it is not the first time to start.
if test -e /tmp/fr; then \
  regular script \
else \
  touch /tmp/fr \
  initialization script \
fi
After that, the user who creates the specified password non-interactively, generally changes the password interactively (the user needs to manually enter the password on the command line), fortunatelychpasswd The command supports streaming input so that it can be used| The symbol sets the password, and the mirror will read three environment variables:
- LABUID: uid
- LABGID: gid
- LABPASSWD: User password
groupadd -g ${LABGID} username
useradd -u ${LABUID} -g ${LABGID} -G wheel username
echo "username:${LABPASSWD}" | chpasswd
First create a group with a specified group id, then create a user, and assign the specified user id and group id, and add it to the wheel user group to give the user root privileges. Finally, use echo + pip to avoid chpasswd from requiring interactive input and password setting.
Fight the internet
The domestic network environment will be slow, stuck or even interrupted when accessing many external network resources. This problem is particularly obvious in the Docker build process, because there are many resources to download. The more commonly used resources are usually from domestic sources, and many rare installation packages can only be tried a few more times. How tocurl When the download fails, it does not report an error but retry silently? It can be done in a loop:
for i in 1 2 3 4 5; do \
  curl -L https://git.io/vQhTU | bash && break \
  || sleep 1; \
done
The entire loop will retry 5 times. Once the script executes normally and no error is reported, it will break to exit the loop, otherwise it will retry after sleeping for 1 second.
Later, I happened to rent a server in Hong Kong, and the speed of accessing resources at home and abroad was flying fast, which is also a good solution (just to spend more money XD).
Upload Docker Hub
The process of uploading to Docker Hub is simpler than expected. First, register an account, then name it and create a warehouse. Use the name of the repository when building the image locally:
docker build -t sineliu/jupyterlab-all-in-one:latest .
after that
docker push sineliu/jupyterlab-all-in-one:latest
That’s it.